
by Victoria D'Amaro If your writing instruction consists of giving students a prompt and expecting them to just roll with it, you might find that some students will become easily frustrated or not know how to develop their piece further. 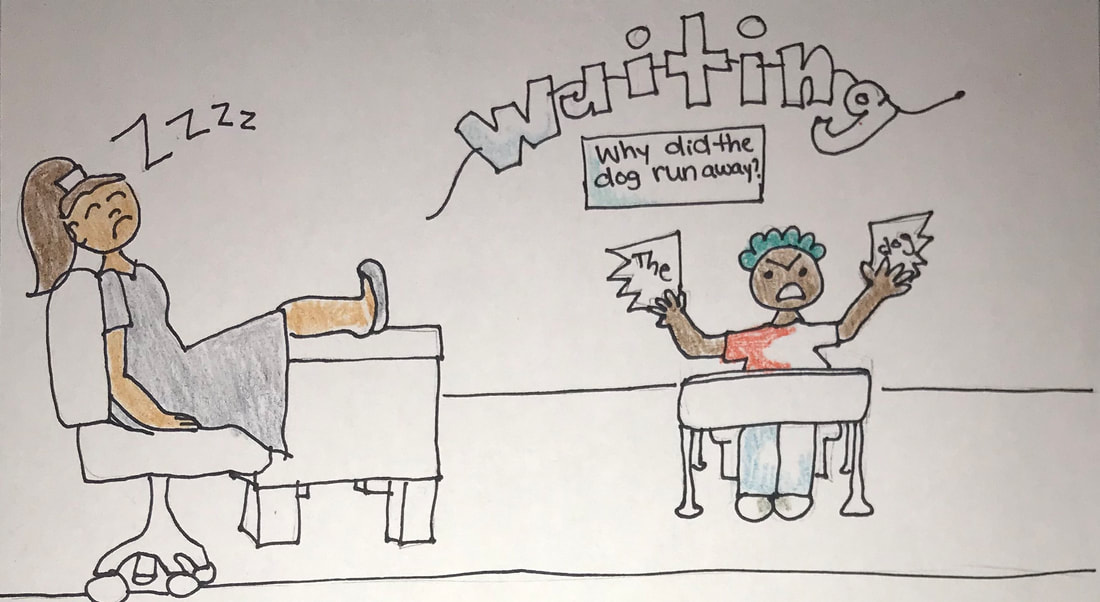 So how can you fix this? To amp up your writing instruction, you might consider modeling how to use graphic organizers to plan writing. This will provide students with a useful tool and will also help them get kick-started on their writing. Now they will know how to plan their writing. 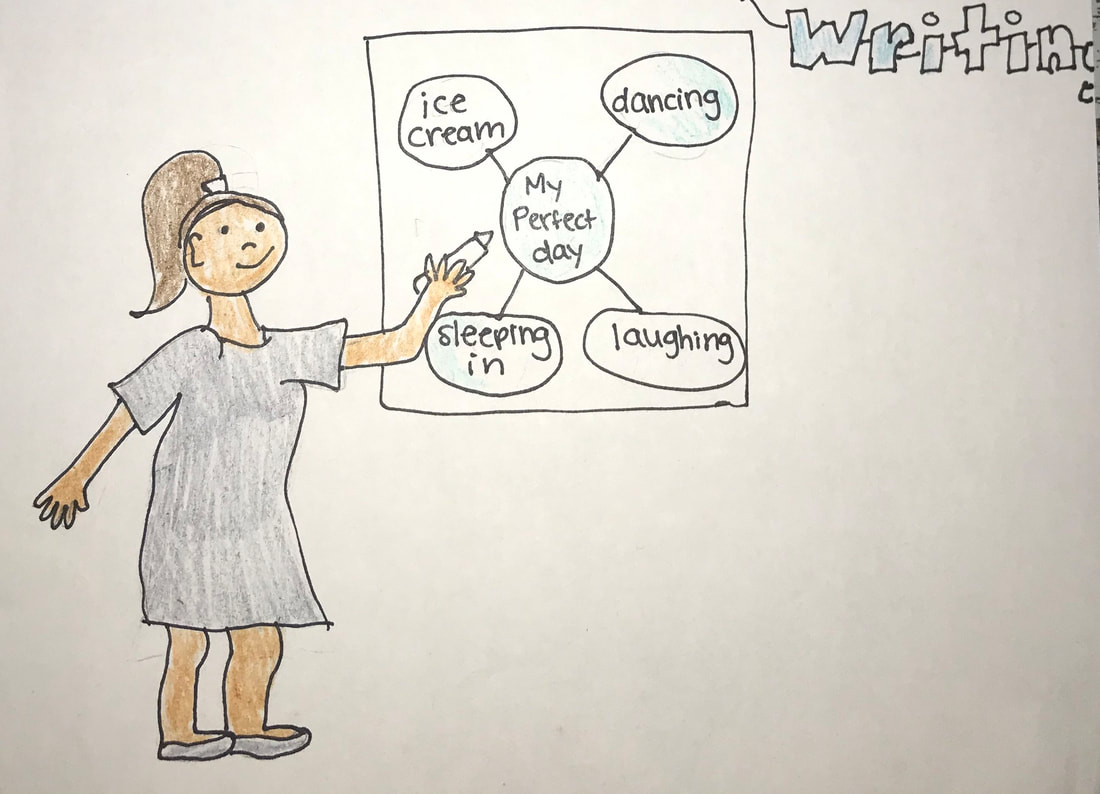 But what’s next? Your next step might be to create a writing station with anchor charts, publishing paper, and fancy pens to increase students’ motivation to write. Great! They’re excited to write now. 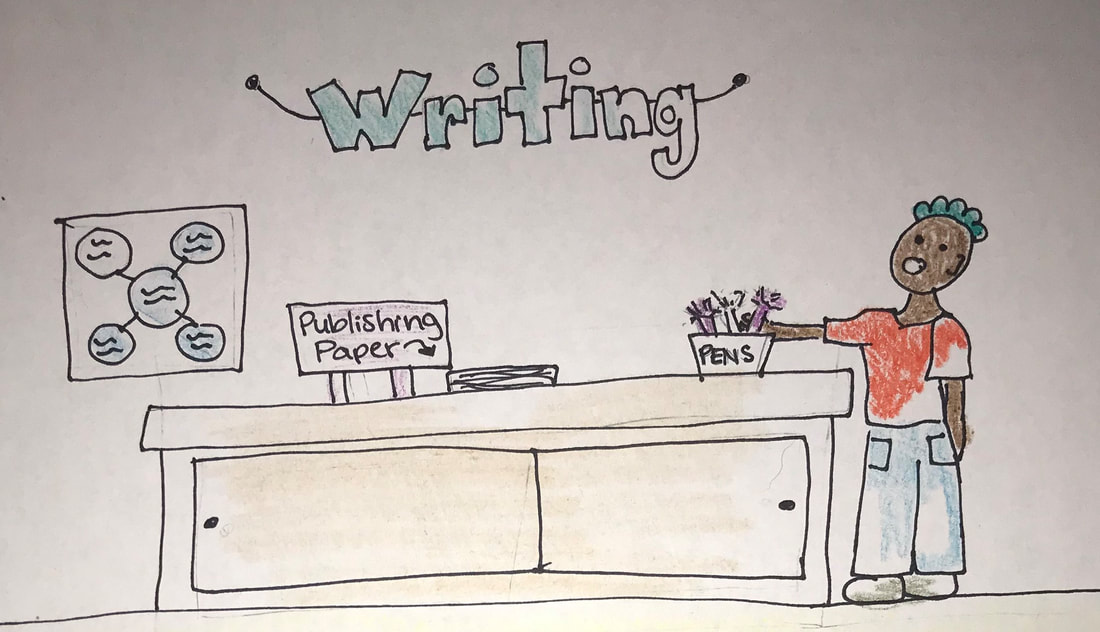 But something is still missing to help them take their writing to the next level… Once you have the prompts and writing station, and you’ve modeled how to plan a writing piece with a graphic organizer, you’ll want to pull one more trick from up your sleeve: visual rubrics! Visual rubrics help students understand writing expectations while providing them with a mentor text (model). These mentor texts show students what their writing should look like: the length, amount of detail, neatness, etc. Visual rubrics also give students a chance to assess their own writing and set goals for themselves. Students can compare their writing to the visual rubric and then look ahead to see how they can better their piece. Visual rubrics help students think like a writer while helping them understand the expectation for their finished product. 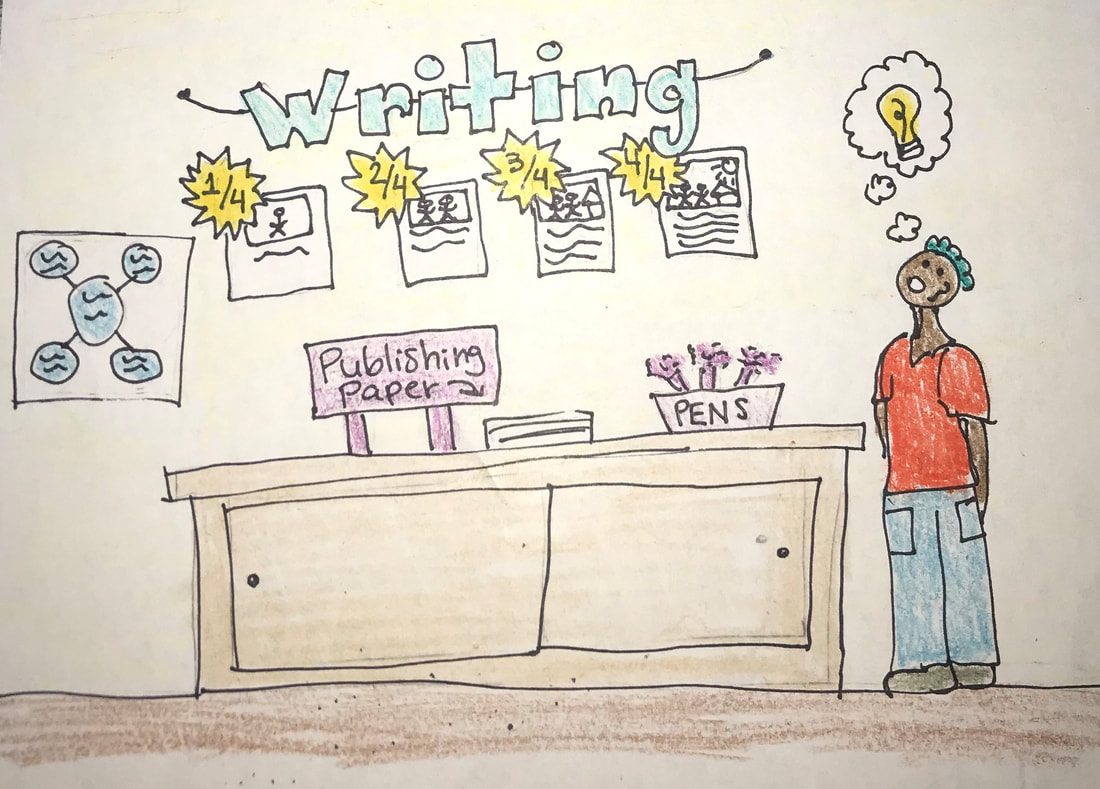 I hope these powerful tools help make writing an easier task for your children/ students!
Examples of visual rubrics
0 Comments
by Brianna Ware Do your students/children struggle with getting their ideas on paper? Do you notice them having a lot to say verbally, but only putting the bare minimum on the page when writing? If you said yes to either question, let me tell you about a brainstorming strategy called Brain Blast, a brainstorming activity that allows students to get their thoughts on paper without the fear of putting down the wrong answer. How does Brain Blast work? The teacher provides a topic, and sets a timer. I recommend starting with two minutes the first time you try this activity. Once the timer is started, students jot down everything they can think of that is related to the topic. Once you feel your students are ready for the next step, have them go back to their brainstorming pages and choose an idea they would like to say more about. Hopefully, their writing will flow more easily when they select topic on their list that interests them. Completing Brain Blasts frequently helps students become more comfortable with getting their ideas on paper. It is particularly important to model this strategy for the children before asking them to complete a Brain Blast. While modeling, be sure to make intentional spelling errors, and do not use your neatest handwriting. The key is to show students that getting ideas on paper is the most important part of this activity. Remember to praise the students for their efforts while they are working on a Brain Blast! Below I have included an example that I created along with some student examples. You will see the topic listed at the top of the page. I hope Brain Blasts help your children/students become better writers! |
Archives
November 2020
Categories |
 RSS Feed
